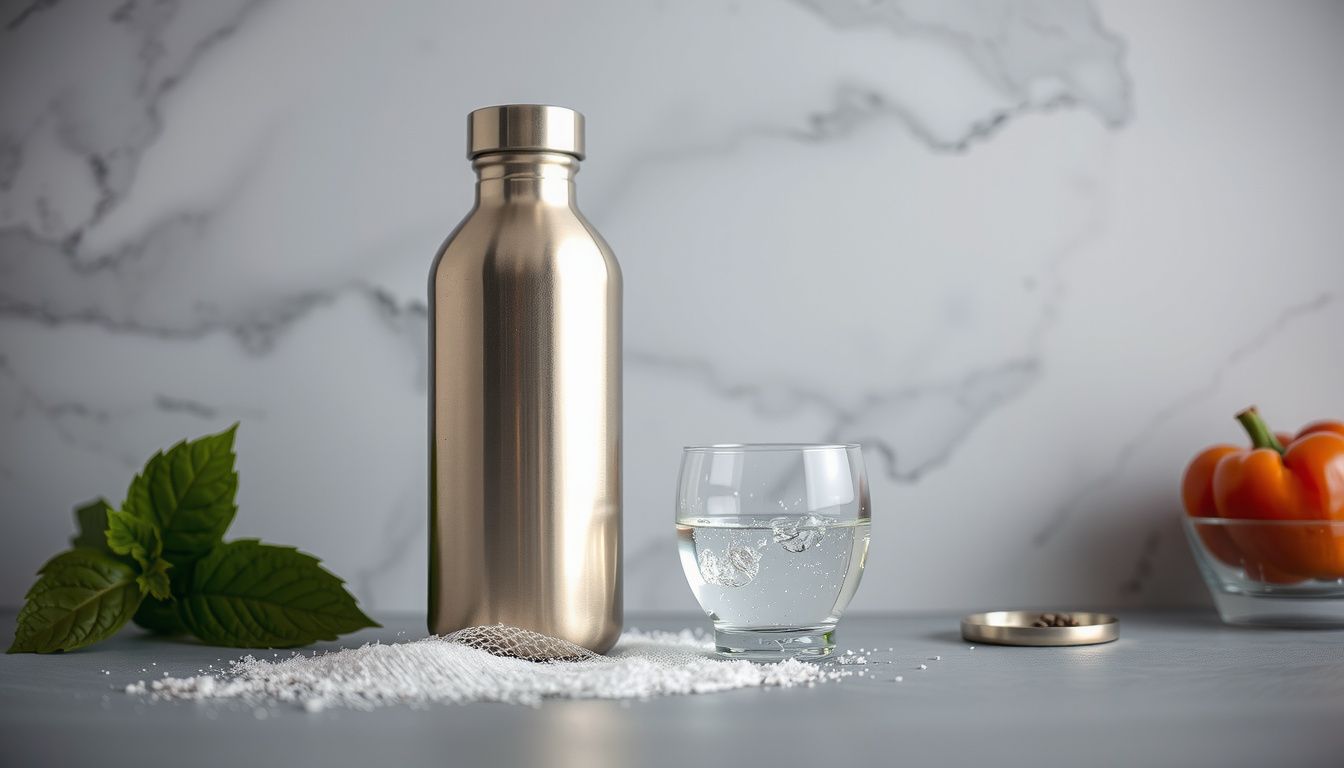
Clean a stainless steel water bottle every 2–3 days using warm water, dish soap, and a bottle brush to remove bacteria. Deep clean by soaking with a 1:1 ratio of white vinegar and water or adding 1–2 tablespoons of baking soda. Air dry completely with the lid off to prevent odors.
Identify What Needs Cleaning (odor, stains, mold, or daily rinse)
Now, they should pinpoint what’s actually going on inside the bottle before scrubbing. The right method depends on whether it’s a quick refresh or a deeper sanitation job. A 10-second check saves time and prevents unnecessary abrasion.
They can start by smelling the empty bottle and inspecting the mouth, threads, and bottom. Tilting it toward a light helps reveal hidden film or specks. If a straw lid is involved, that’s often where residue hides.
- Daily rinse: no odor, no visible buildup; water only and air-dry.
- Odor: musty or “old water” smell; needs deodorizing soak.
- Stains: tea/coffee discoloration; requires a gentle stain-lift.
- Mold: black/green spots, slimy feel; requires full disinfection and lid cleaning.
Practical example: after leaving a bottle in a gym bag overnight, they might notice a sour smell but no spots. That points to an odor-focused clean, not an aggressive scrub that could dull the finish.
Gather Supplies and Set Up a Safe Cleaning Area
Once they know the problem, they can set up a simple, safe station. A clean sink, warm water, and the right tools prevent cross-contamination and protect stainless steel. Look for soft, non-scratching items first.
They should keep cleaning agents mild and measured. Harsh abrasives can haze the interior, while strong chemicals can linger in seals. Ventilation matters when using vinegar or peroxide.
- Warm water, mild dish soap, and a bottle brush with soft bristles
- Baking soda (odor/stain lift) and white vinegar (deodorizing soak)
- Small brush or cotton swabs for threads, gasket, and spout areas
- Clean towel or drying rack for full air-dry
Common mistake: using steel wool or abrasive powders. Pro tip: they can place small lid parts in a bowl so nothing disappears down the drain during rinsing.
Do a Quick Daily Clean to Prevent Build-Up
Now that they’ve identified the issue and set up supplies, a quick daily routine keeps residue from turning into odors. This takes less than a minute and protects the bottle’s finish. Consistency beats aggressive scrubbing later.
After the last drink of the day, they should rinse with hot water, then clean the mouth area where saliva and backwash collect. A fast wipe prevents the “ring” that forms around the rim and threads.
- Rinse the interior with hot tap water for 10–15 seconds.
- Use a drop of mild dish soap on a sponge to wipe the rim, threads, and cap underside.
- Rinse until water runs clear and no suds remain.
- Air-dry upside down with the cap off to avoid trapped moisture.
Pro tip: If they drink coffee or flavored electrolytes, they should rinse immediately after finishing. Common mistake: closing the lid while the bottle is still wet, which can create a stale smell overnight.

Example: After a gym session, they can rinse at the sink, wipe the mouthpiece, and leave it open on the counter while showering—done.
Deep Clean the Bottle Interior With Soap and Hot Water
Look, when a daily rinse isn’t enough, a deeper wash resets the interior. This method is the baseline for how to clean stainless steel water bottle interiors safely without harsh chemicals. It targets oils, dried drink residue, and hidden film.
They should fill the bottle halfway with hot (not boiling) water, add a small squirt of dish soap, and scrub with a bottle brush. The brush should reach the bottom edge and sweep the shoulder area where buildup clings.
- Disassemble the lid and remove gaskets if the design allows.
- Scrub the interior for 30–60 seconds, focusing on seams and the base.
- Wash the cap parts separately with soap and a small brush.
- Rinse thoroughly, then air-dry all parts fully before reassembling.
Pro tip: Warm the brush under hot water first; it loosens residue faster. Common mistake: using abrasive pads that can dull stainless steel and trap odors in scratches.
Example: If they used a protein shake, a longer scrub around the bottom curve removes the sticky film that plain rinsing leaves behind.
Remove Odors and Stains Using Baking Soda or Vinegar
Now that the bottle’s been washed, they can target lingering smells and discoloration with pantry staples. Baking soda handles organic odors, while vinegar breaks down mineral film and some tea or coffee stains.
For baking soda, they should make a thin paste and let it work before scrubbing. For vinegar, a short soak usually does the job without harsh abrasives.
- Baking soda method: Add 1–2 tbsp baking soda + a splash of warm water, swirl into a paste, scrub with a bottle brush, then sit 15–30 minutes.
- Vinegar method: Fill with 1:1 white vinegar and warm water, soak 15–30 minutes, then brush and rinse.
- Finish: Rinse until odor-free, then air-dry fully with the cap off.
Pro tip: they should clean the cap and silicone gasket in the same solution; that’s where odors hide. Common mistake: soaking for hours, which can leave a sour smell and loosen printed finishes.
Example: after a week of iced coffee, a 20-minute vinegar soak and a quick brush usually clears the brown ring near the shoulder.
Sanitize Properly After Illness or Visible Mold
Look, when someone’s been sick or they spot mold, washing isn’t enough; they need true sanitizing. They should work in a ventilated area and keep bleach away from vinegar or other acids.
They can sanitize stainless steel with a measured bleach solution, then rinse thoroughly. Heat can help, but they should follow the manufacturer’s limits for lids, straws, and coatings.
- Disassemble: remove straw parts, valve pieces, and the silicone gasket.
- Mix sanitizer: 1 tbsp unscented bleach per 1 gallon of cool water.
- Soak bottle and parts 2–5 minutes, then brush seams and threads.
- Rinse repeatedly, then air-dry completely, separated.
Pro tip: they should replace a gasket that stays musty after sanitizing. Common mistake: using boiling water on plastic lids, which can warp seals and create new leak points.

Example: if mold dots show under the cap lip, a short bleach soak plus brushing the threads usually removes it; if odor persists, swap the gasket.
Clean the Lid, Straw, Gasket, and Threads Thoroughly
Now that the main bottle is handled, the small parts need focused attention; they’re where residue and biofilm hide. For how to clean stainless steel water bottle components properly, treat the lid assembly like a separate device.
Disassemble what they can: remove the straw, pop out the gasket/O-ring, and inspect the threads. Soak parts in hot, soapy water for 10–15 minutes, then scrub with the right tools.
- Lid crevices: Use a small brush to reach vents, spouts, and hinges.
- Straw: Run a straw brush through it until it slides cleanly.
- Gasket and threads: Scrub gently; grit here causes leaks and odors.
Pro tip: Hold the lid up to a light; any cloudy film means it needs more brushing. Common mistake: Leaving the gasket in place during cleaning, which traps moisture and can trigger mildew.
Example: After a week of iced coffee, they’ll often find a faint ring under the gasket—scrubbing that area usually removes the “mystery smell” immediately.
Dry, Reassemble, and Store It to Keep It Fresh Longer
Once everything is clean, drying becomes the make-or-break step for freshness. Moisture left in hidden channels can restart odor within a day.
Air-dry all parts completely on a clean rack or towel. Position the bottle upside down with the mouth angled so water doesn’t pool, and place the lid open so air circulates through valves and spouts.
- Dry the gasket separately before reinstalling it.
- Shake out the straw and stand it vertically to drain.
- Wipe threads with a lint-free cloth to prevent trapped droplets.
Pro tip: If they’re in a hurry, a cool setting on a fan speeds drying without heat stress on seals. Common mistake: Reassembling while damp, then sealing the bottle tightly—this locks in humidity.
Example: For a gym bottle used daily, storing it overnight with the cap loosely placed (not tightened) keeps airflow moving and prevents that stale “closed bottle” smell.
Putting It Into Practice
Now they can turn the routine into something automatic. The real win in how to clean stainless steel water bottle care is consistency: a simple schedule keeps taste neutral, parts working smoothly, and surprises rare. It also makes it easier to spot wear early, before it becomes a leak or lingering funk.
A practical example: if they refill a bottle at the gym daily, they can set a weekly reminder on Sunday night to run a full reset, then leave it drying while they prep for Monday. That single habit prevents most midweek “why does this taste off?” moments.
To keep the process effortless, they should lock in three habits:
- Set a cadence: daily, weekly, and “as-needed” checks.
- Keep tools together: brush, mild soap, and a clean towel in one spot.
- Replace worn parts: gaskets and straws when they look stretched or cracked.
Next step: they should choose one recurring day and add a calendar reminder to make bottle care a non-negotiable routine.